
Create your OroPocket developer account
Signing up takes a mobile number and about a minute. You leave with a working sandbox key and a dashboard that already knows what you are trying to build.
There is no application form and nothing to wait for. Accounts are self-serve, sandbox keys are issued instantly, and going live later is free — a separate step you can take whenever you are ready.
Open the signup page
Go to developers.oropocket.com/signup and enter the mobile number you want to sign in with. This becomes your account identity: it is the number that receives one-time codes, and — importantly — the only number that can ever issue an API key for this account.
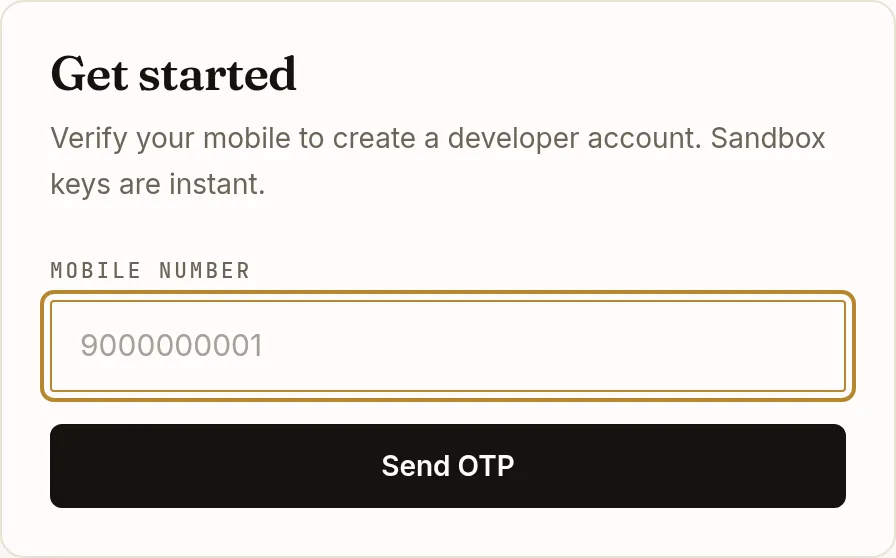
Indian mobile numbers only, ten digits, no country code. Verify the one-time code
We send a code by SMS. Enter it and the account is created. If the number is wrong, there is a Change number link under the field rather than a page reload.
Tell us what you are building
Next you pick one of four paths — Hosted integration, Raw API, Gifting & sending or Whitelabel — and fill in whatever profile details we do not already have.
This choice is not cosmetic. It decides which capabilities your keys are issued with, which tabs appear in the Playground, and whether the Whitelabel page shows up in your sidebar at all. You can change it later on the Capabilities page, and picking one path never blocks you from calling another API.
Copy your sandbox key
The last screen of signup shows your
oro_test_…key in full. This is the only time it is ever shown in full — afterwards the dashboard displays the last four characters and nothing more. Copy it somewhere safe before you leave the page.Lost it? Nothing is broken — go to API keys and regenerate. But regenerating replaces the old key immediately, so anything already using it stops working. See Generate an API key.Land on the dashboard
You arrive at the Overview. In Test mode it reports simulated activity — real prices, simulated settlement — so the figures here are for verifying your integration, not for accounting.
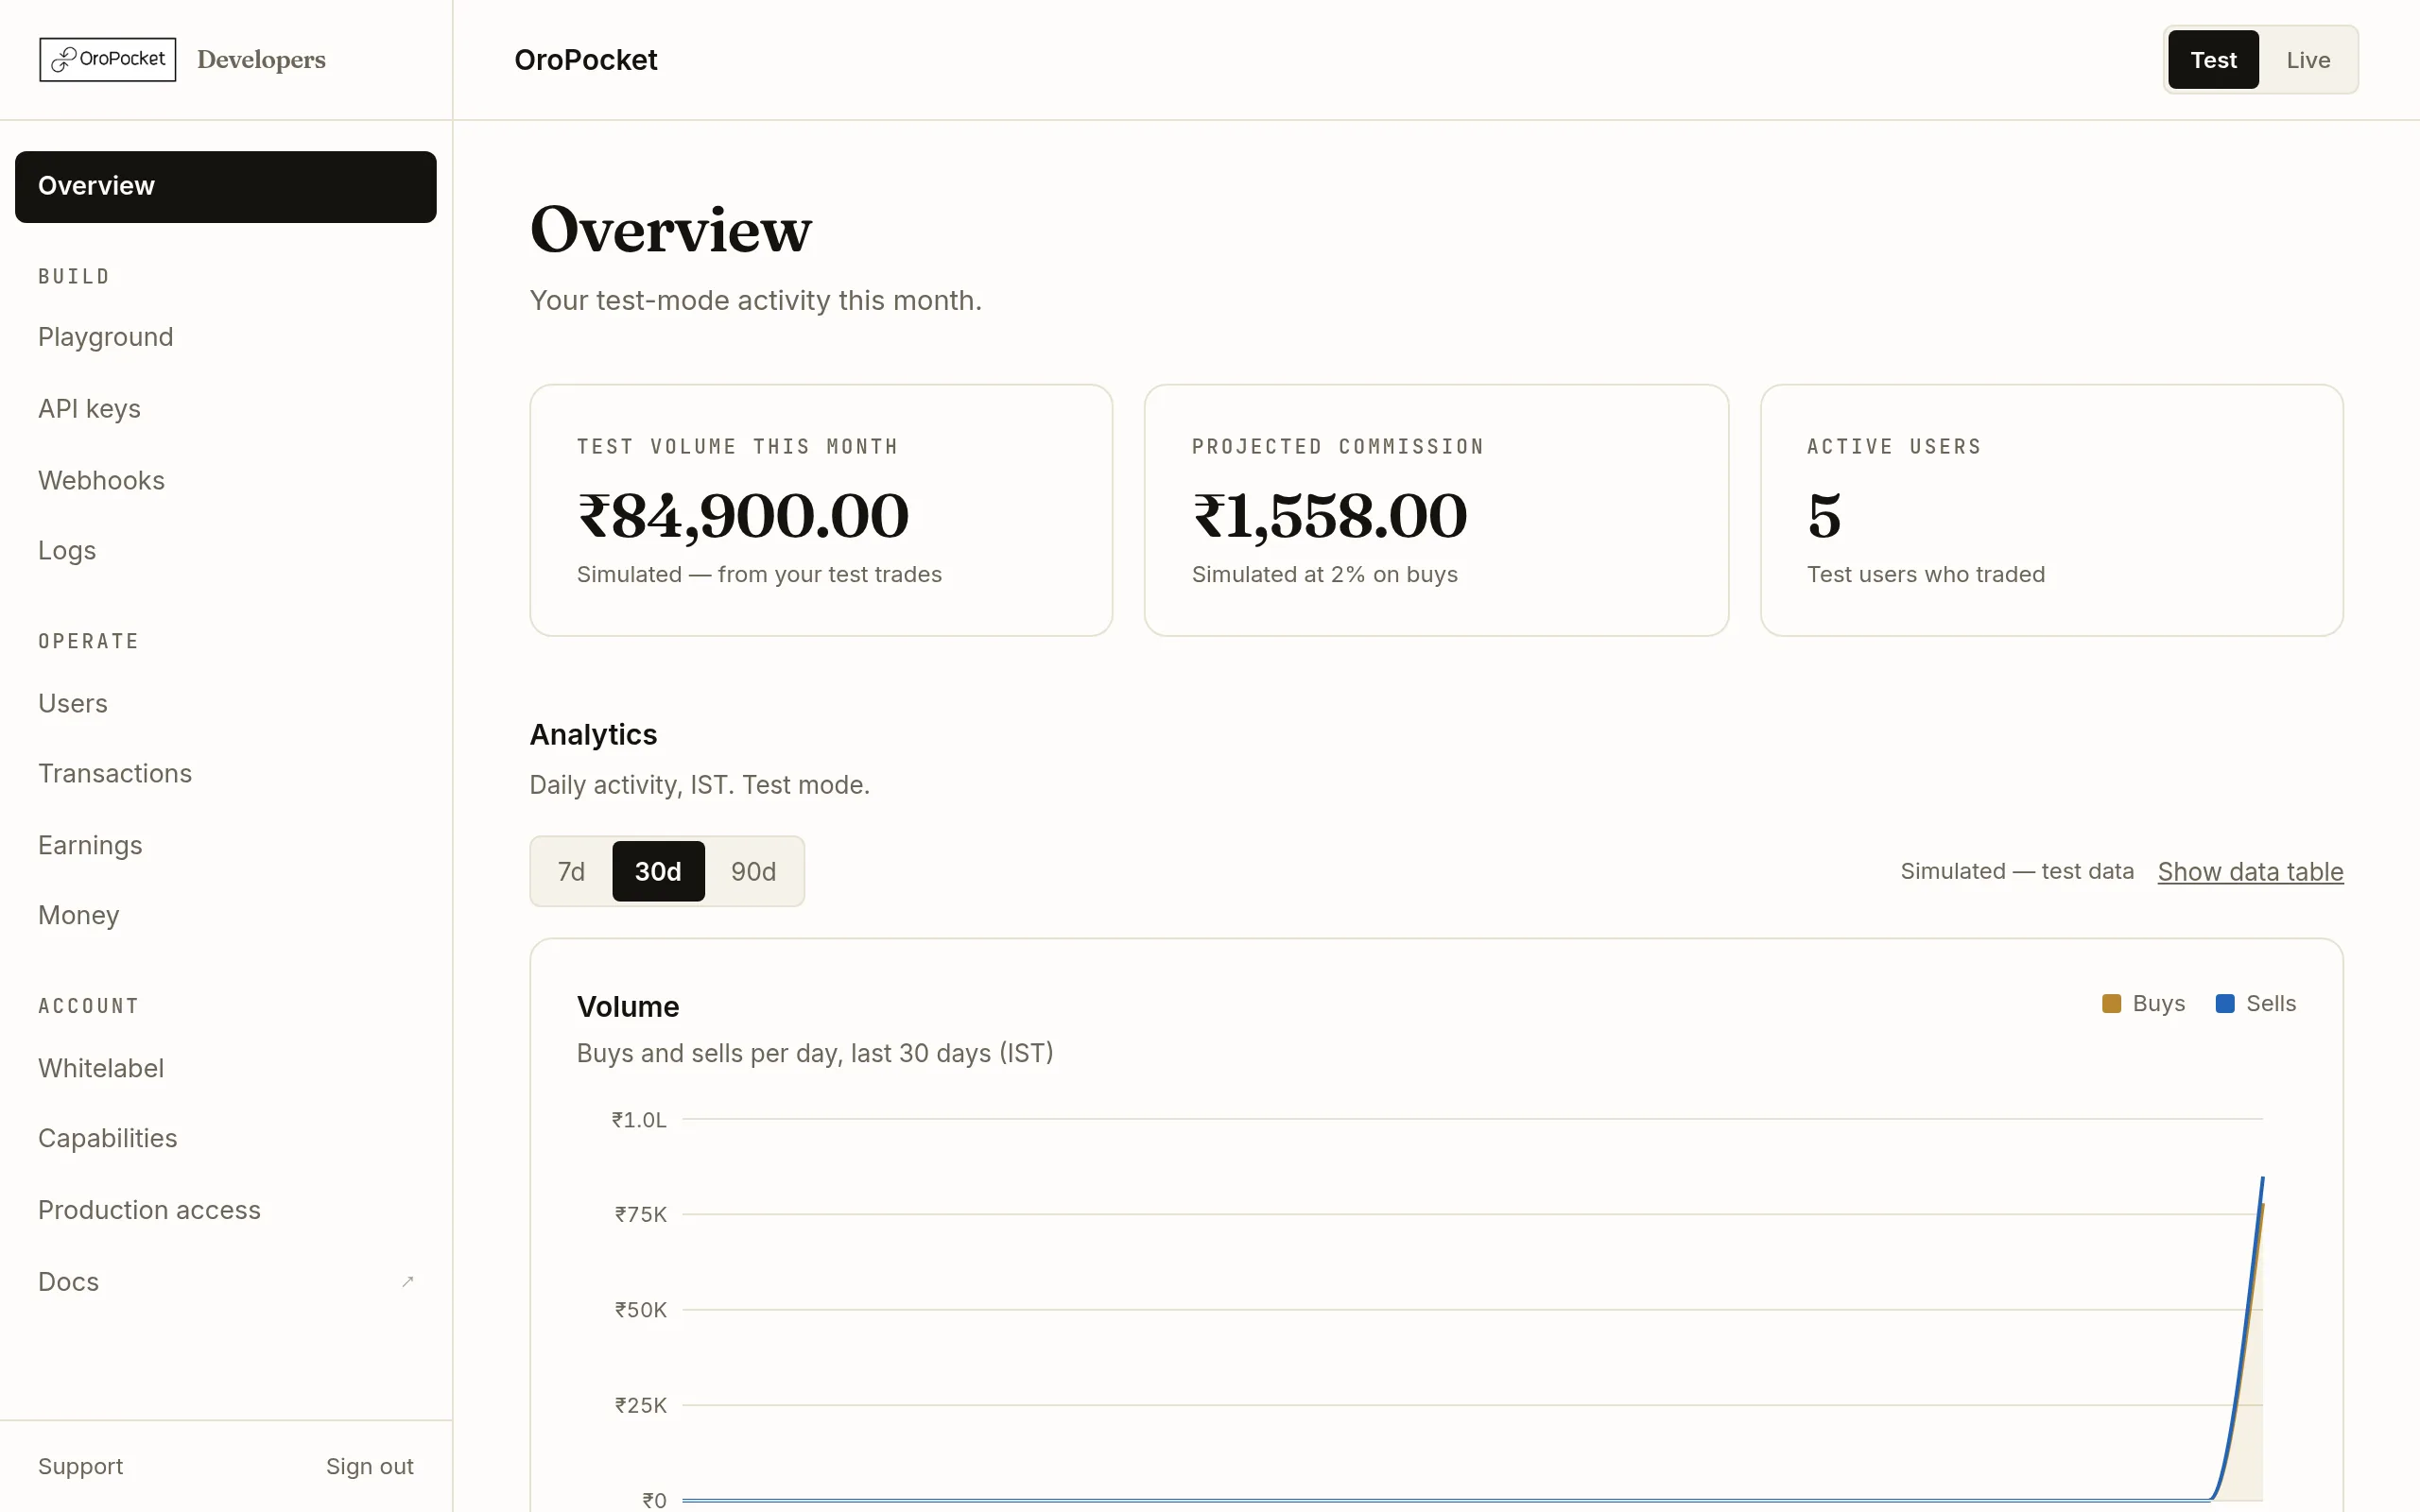
Overview in Test mode. The sidebar groups everything into Build, Operate and Account.
Try a call without writing any code
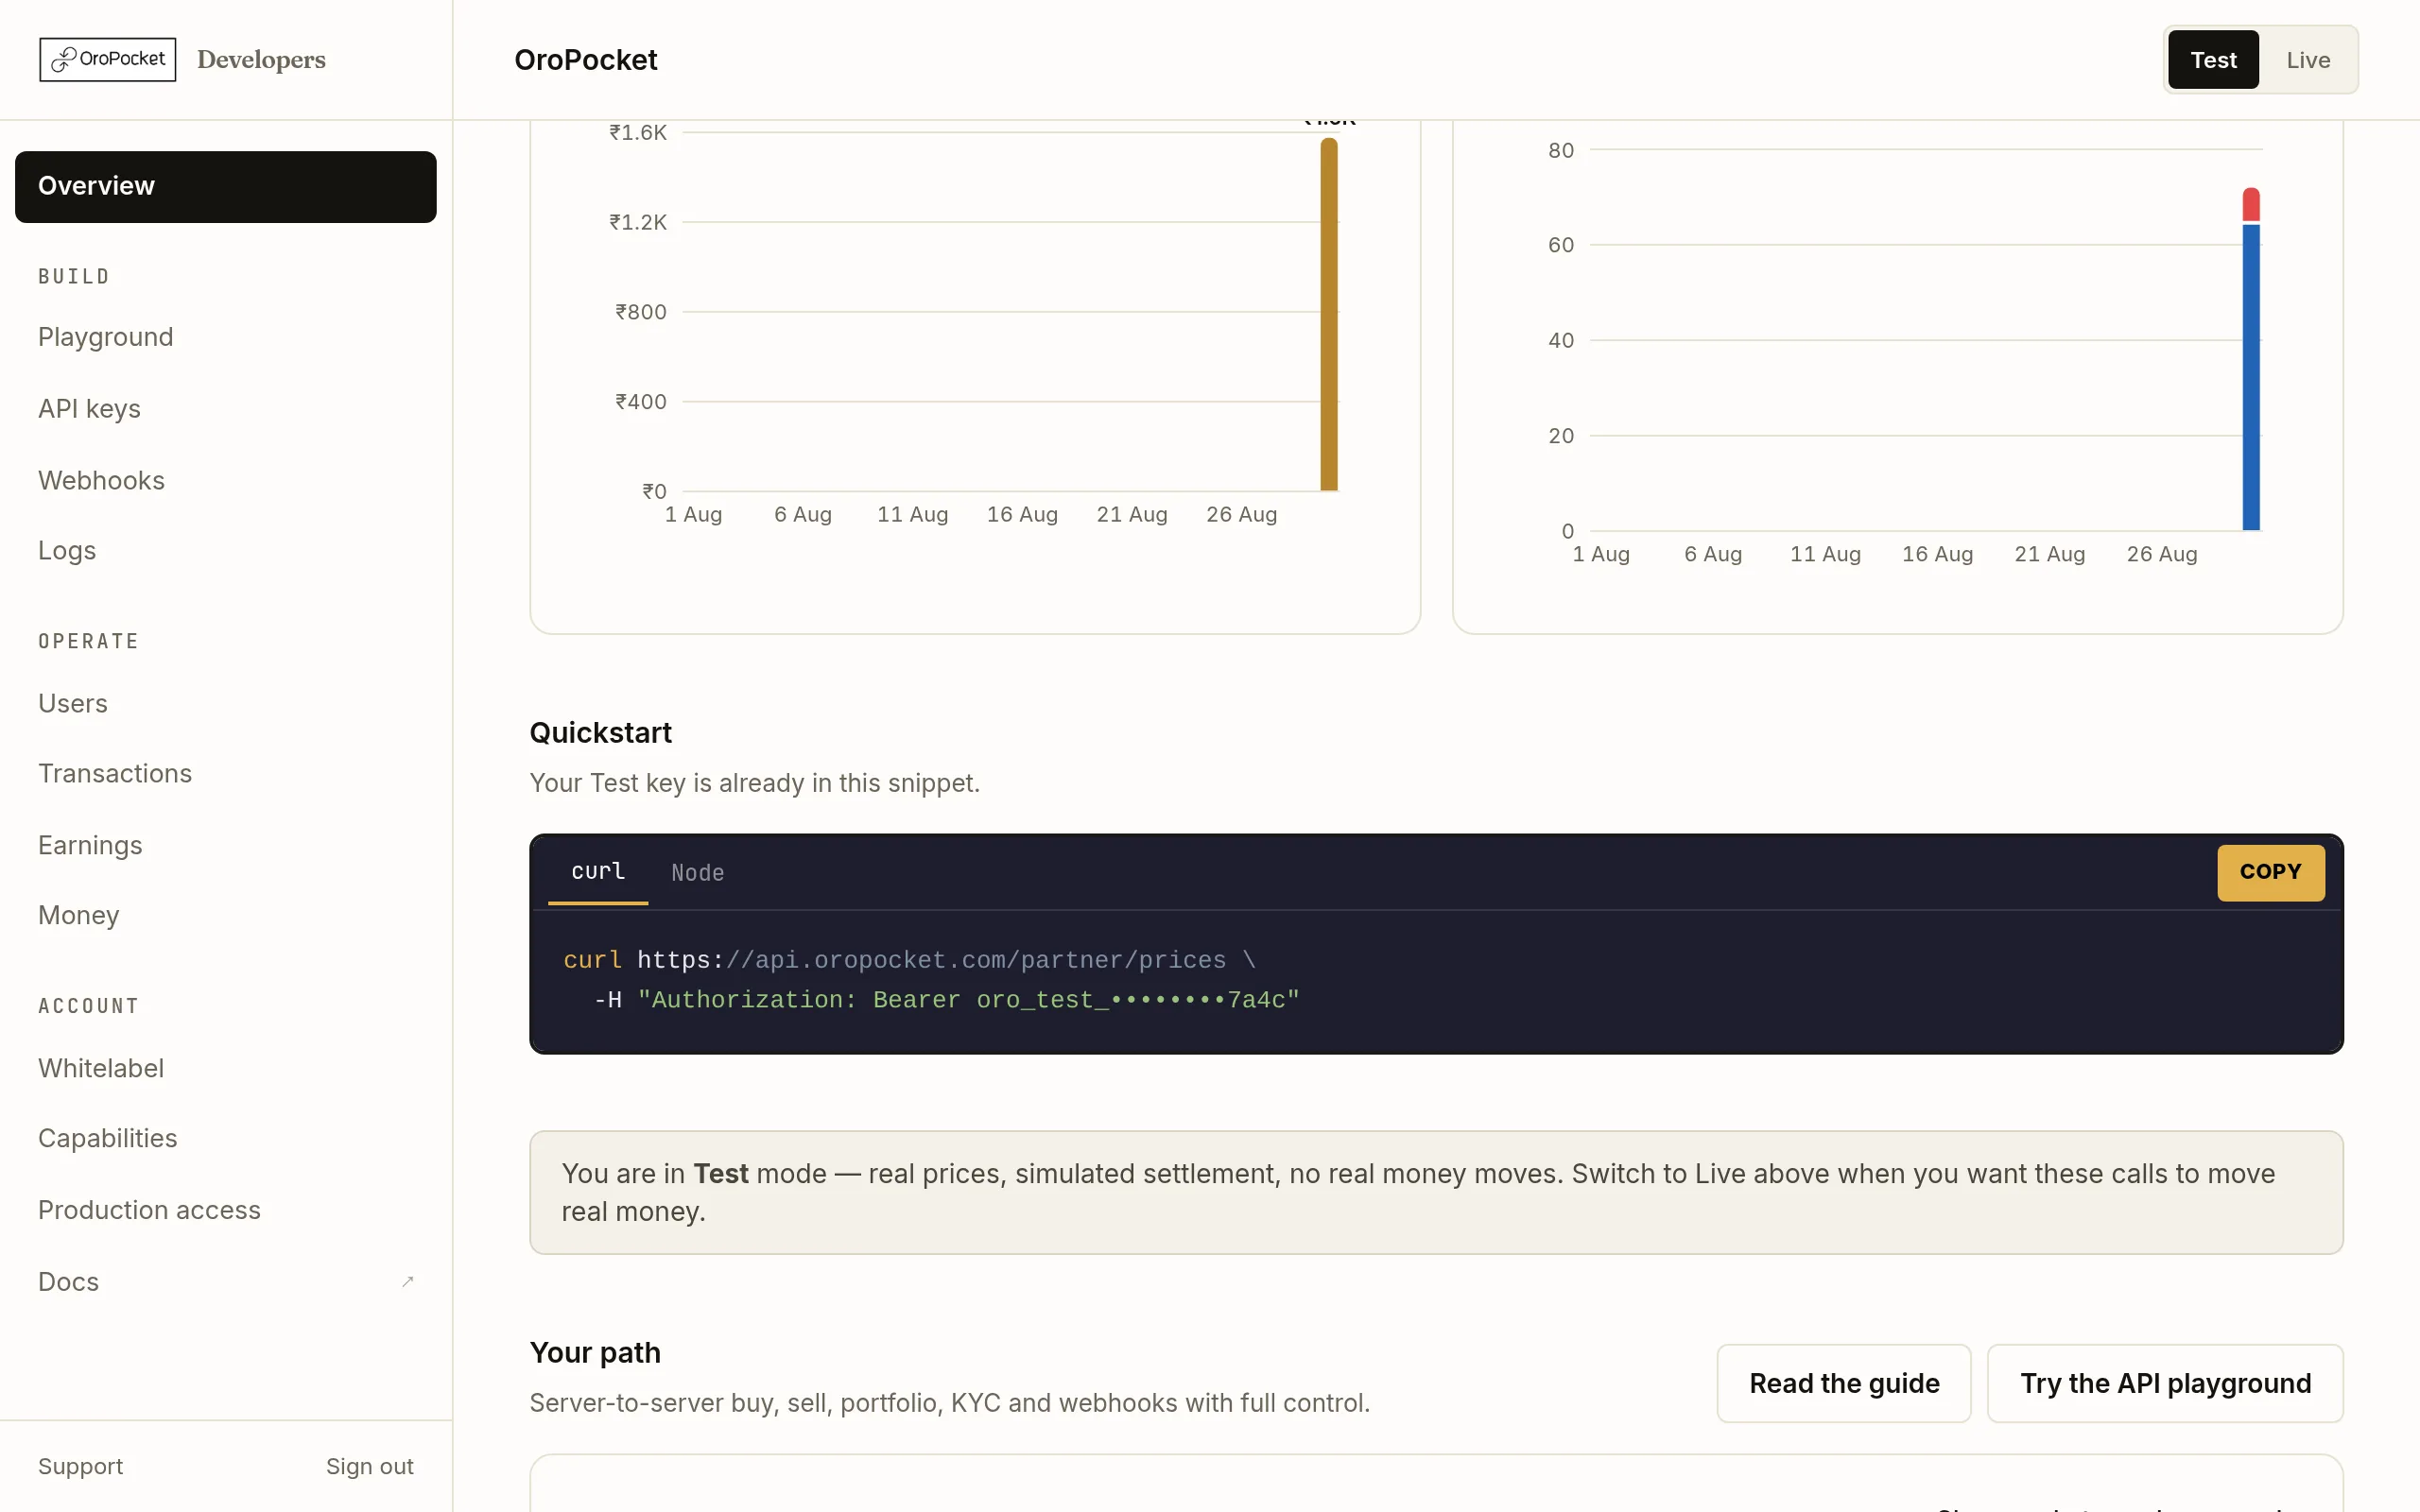
Further down the Overview there is a quickstart snippet with your own key already interpolated into it. Copy the curl line, paste it into a terminal, and you have made your first authenticated call — no project, no SDK, no local setup.
Signing in again
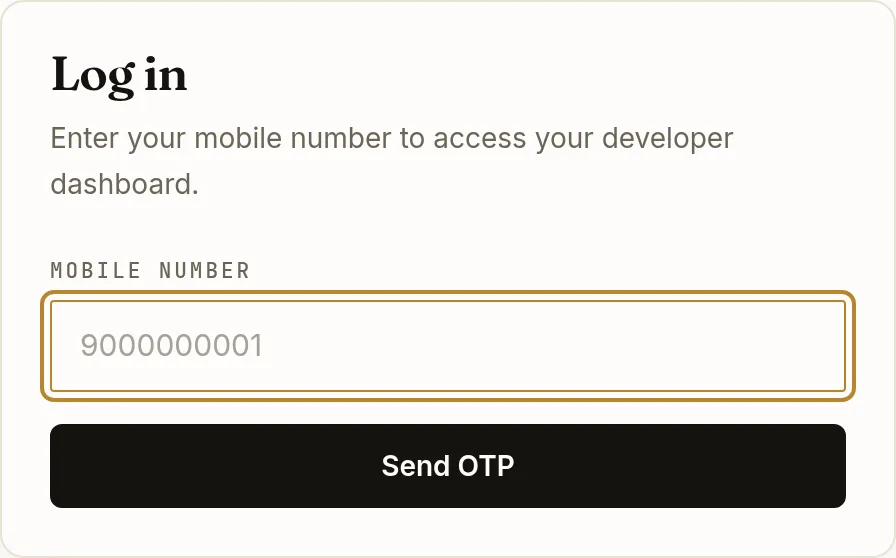
There is no password. Go to the login page, enter the same mobile number, and verify the code.
What you get immediately, and what needs approval
| Available | When |
|---|---|
| Sandbox key | Instantly, at the end of signup. No approval, no fee. |
| Full dashboard | Instantly — playground, logs, users, transactions, webhooks and capabilities all work in Test mode. |
| Live key | After production access is approved. The application is free and covers your business details, a payout account, documents, identity and the partner agreement. |
| Whitelabel domain | Configurable straight away, but it can only go live once production access is approved. See Connect your domain. |