
Generate and reveal an API key
Keys live under API keys in the Build section. There is one per mode, it is shown in full exactly once, and regenerating replaces the old one the instant you do it.
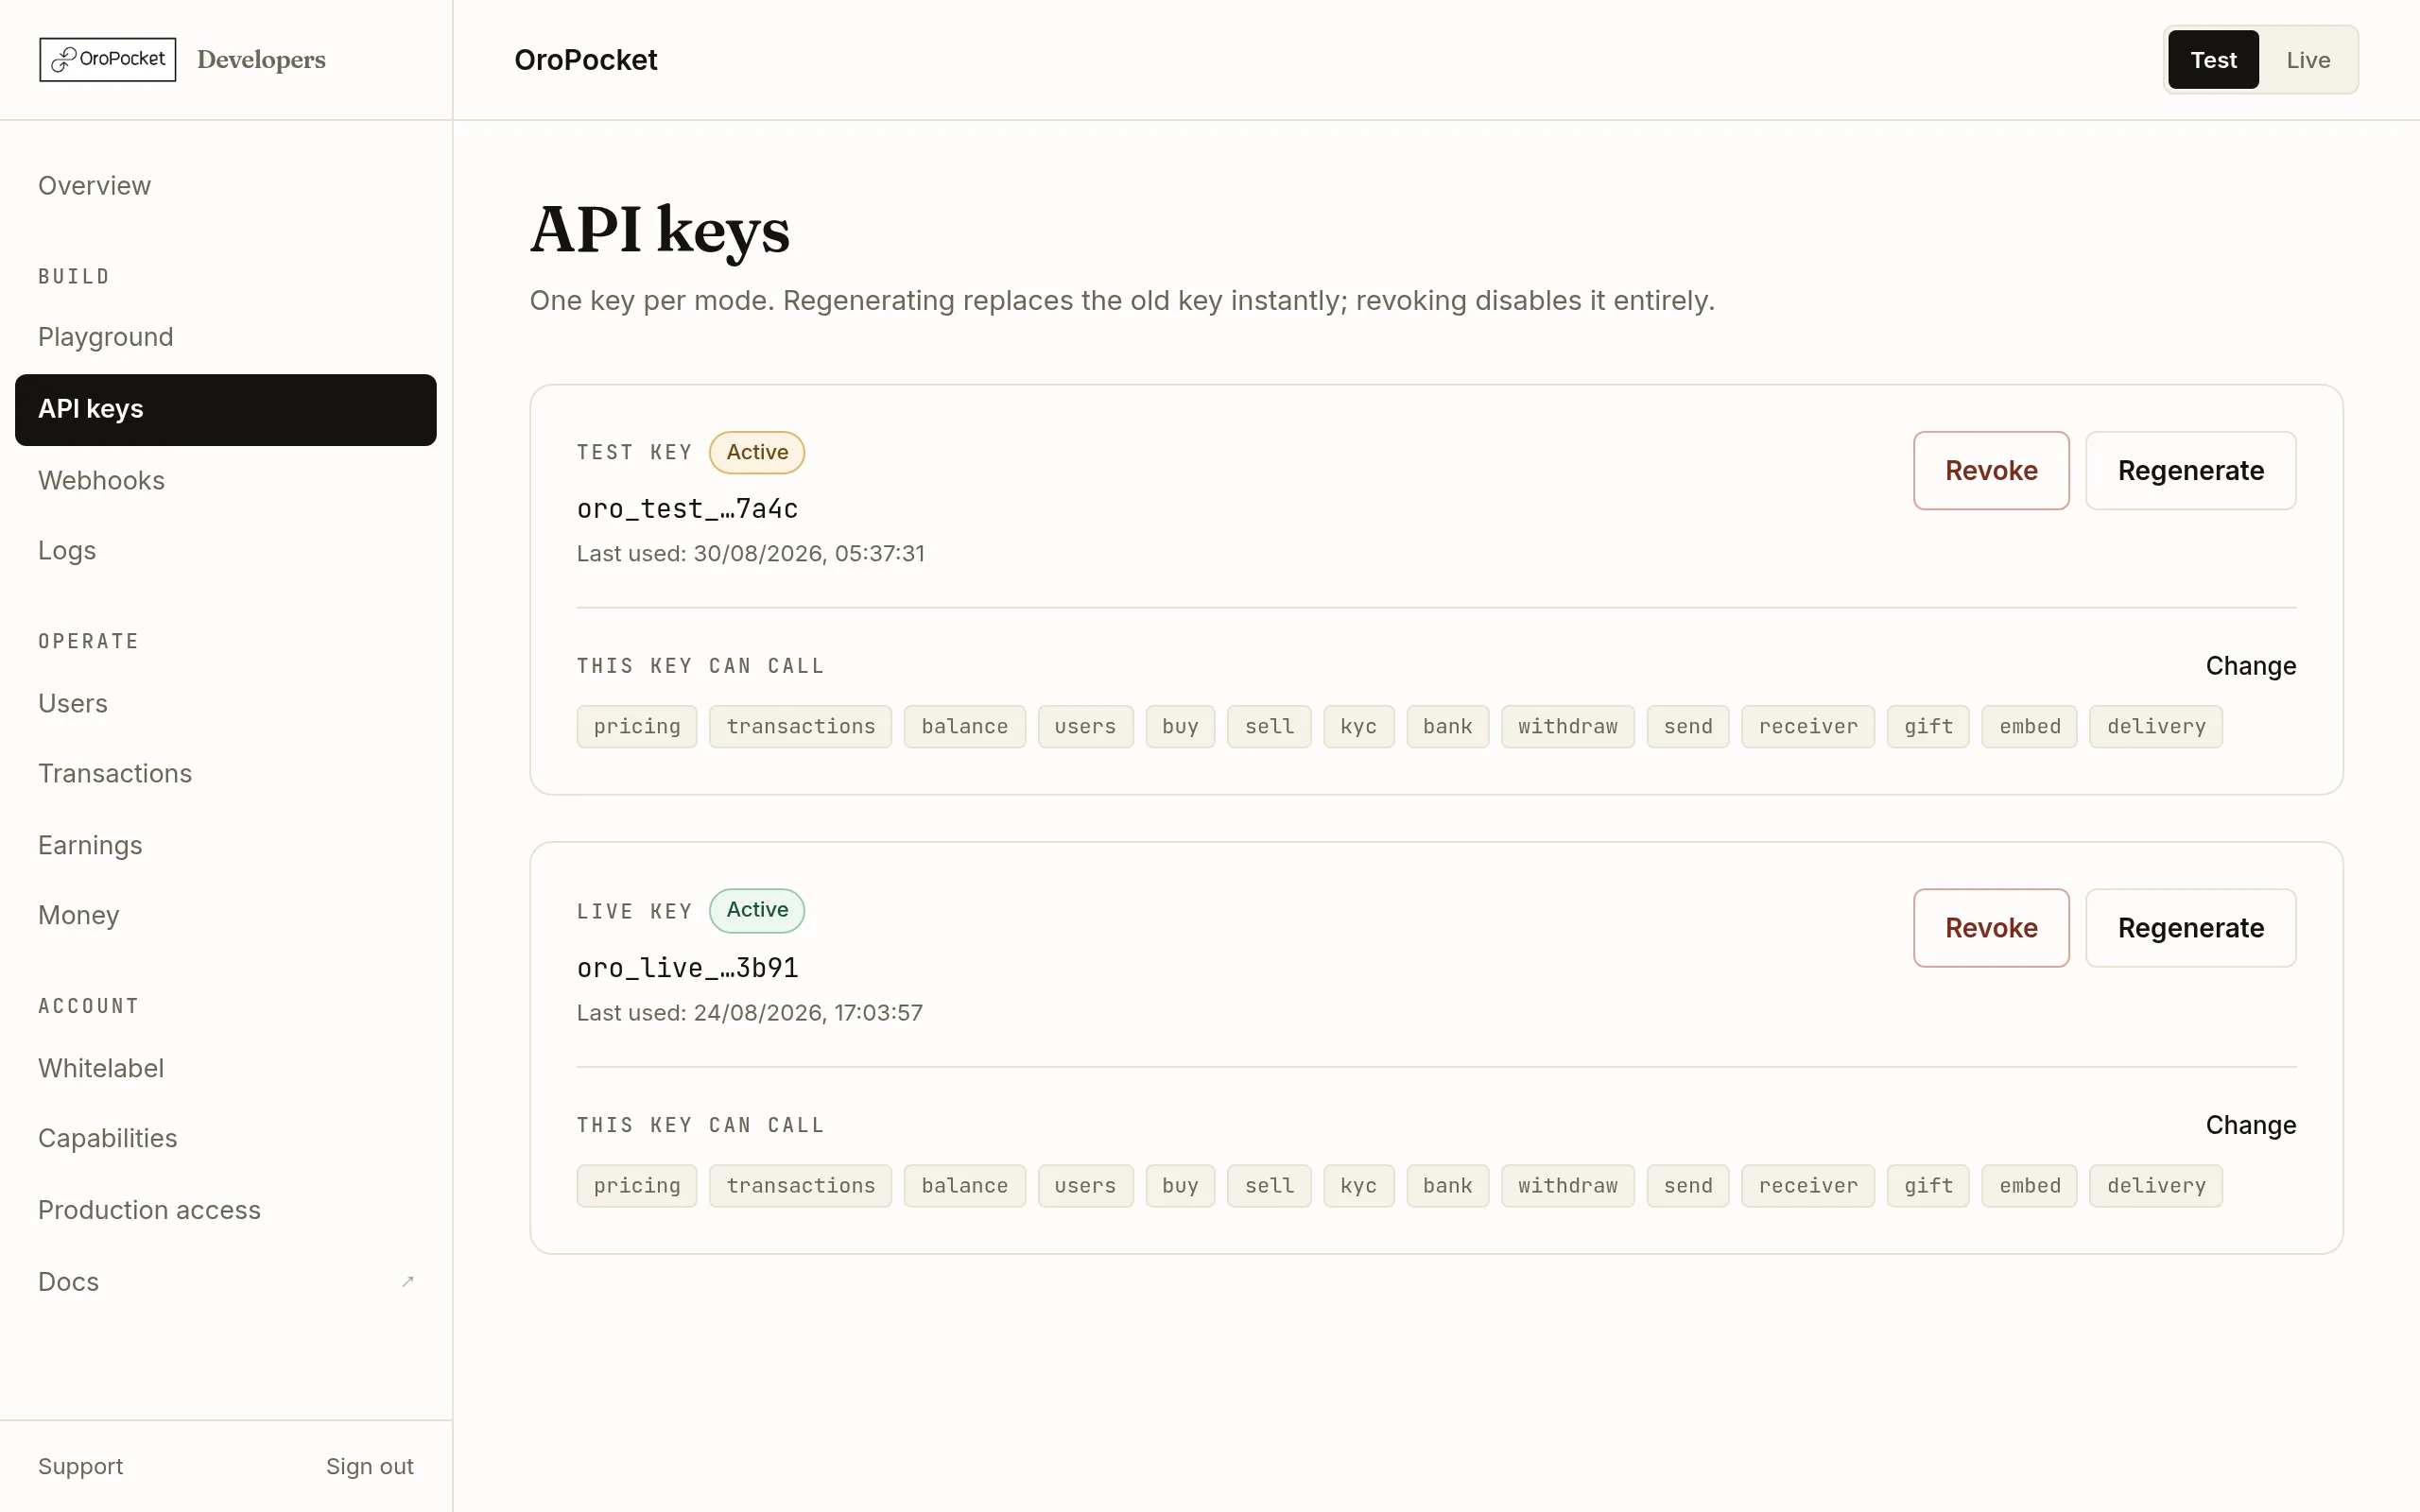
Open API keys in the sidebar. You get one card per mode: a Test key that starts oro_test_ and a Live key that starts oro_live_. The prefix is the only thing that selects the environment — same base URL, same endpoints, different key.
Pick the mode you want a key for
The Test/Live toggle in the top right of the dashboard controls what the rest of the panel shows you, but the keys page always shows both cards. A Live key only becomes available once production access is approved; until then the second card invites you to start that application instead.
Press Generate
For a Test key this is instant — there is no code to enter. For a Live key we send a one-time code to the account’s registered mobile and you confirm with Verify and reveal.
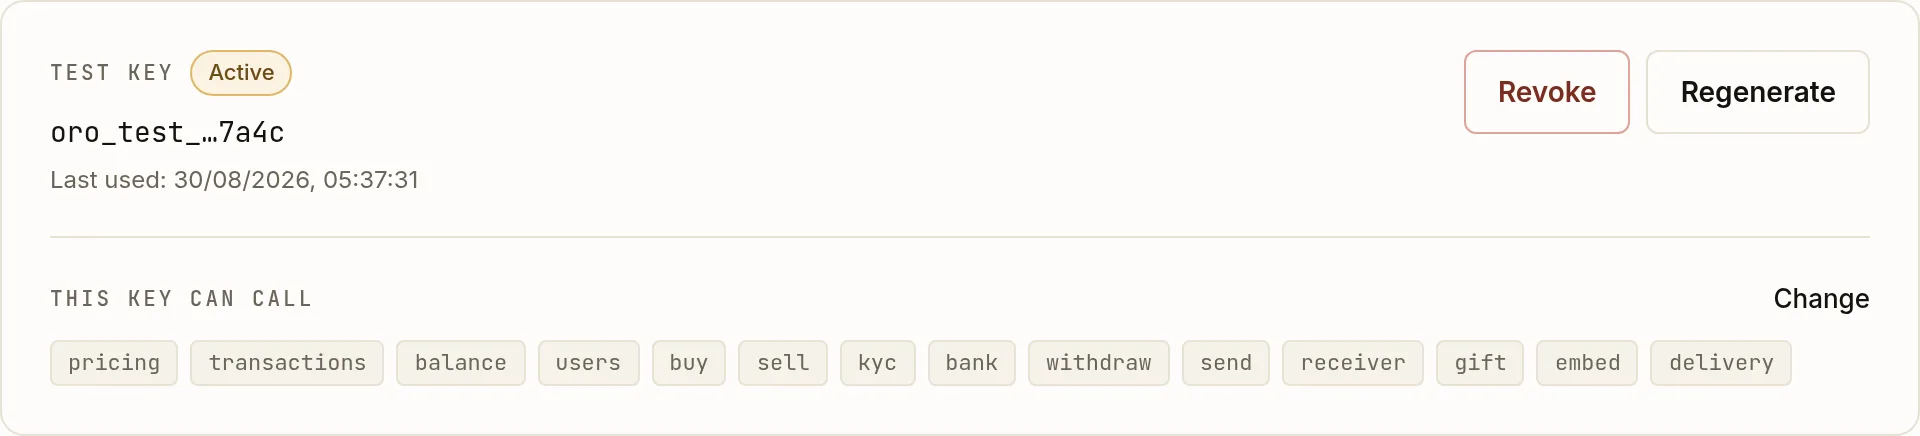
An issued key. From here on you only ever see the last four characters. Copy it before you navigate away
The key is displayed in full once, in a copy field with a warning above it. We store a hash, not the key, so there is no way for us to show it to you again — losing it means regenerating, and regenerating breaks whatever is using the old one.
Check what the key is allowed to call
Below the key, This key can call lists its capabilities as chips. A request to an endpoint outside that list returns
403 API_NOT_ALLOWED, whatever the key itself is. Change takes you to the Capabilities page.
Regenerating and revoking
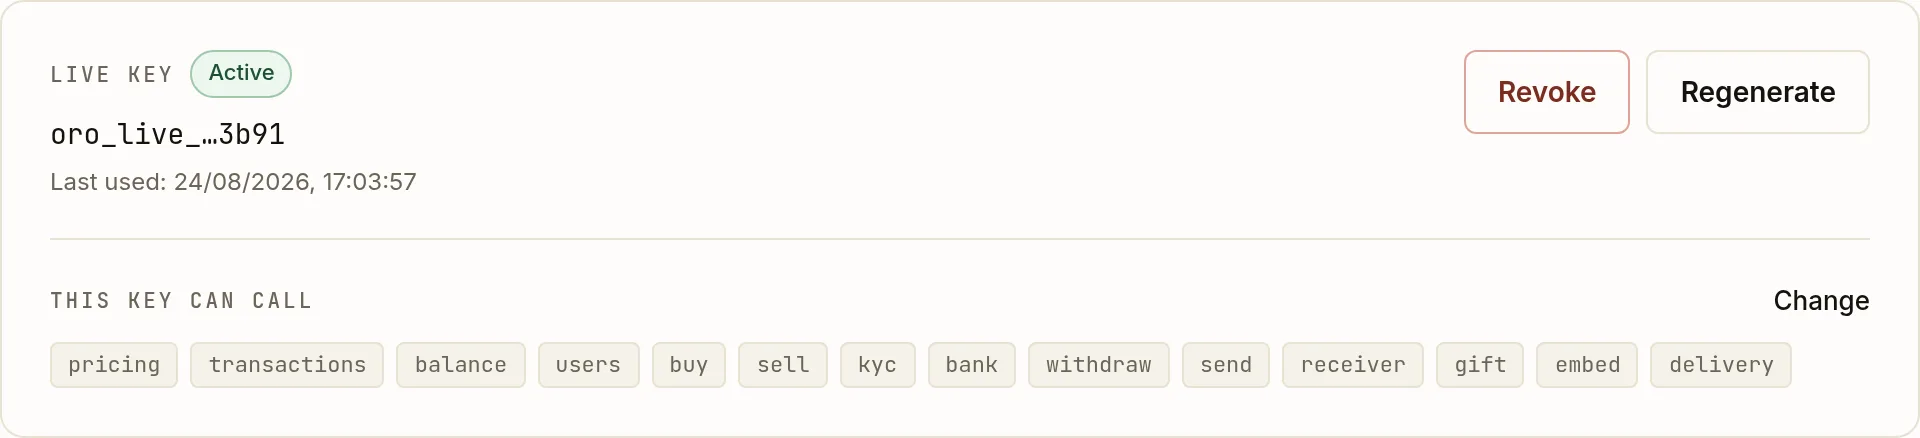
Both actions are immediate and both ask for confirmation first. The difference is what you are left with.
| Action | What happens |
|---|---|
| Regenerate | Issues a new key and invalidates the old one in that mode at the same moment. There is no grace period and no overlap — deploy the new key before you press it, not after. |
| Revoke | Disables the key without issuing a replacement. Every request using it starts failing immediately. Use it when a key has leaked and you would rather be down than exposed. |
Where the key is stored, and why it can go missing
The dashboard keeps your key in that browser’s local storage so the Playground can use it. It is never sent back from the server. Open the dashboard in a different browser and you will see a banner saying there is no key in this browser: the dashboard still works, but the Playground and the quickstart snippet have nothing to call with. Paste the key back in rather than regenerating, unless you actually want a new one.